What Drives You?
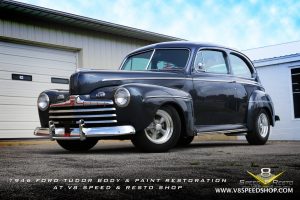
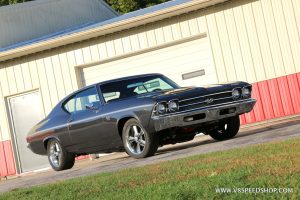
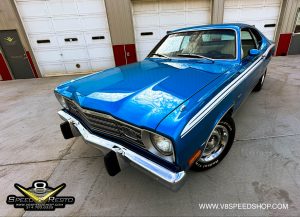
Is it the roar of a powerful V8 in a classic Muscle Car? How about the style of a bespoke custom hot rod built just for you? Or maybe the connection to a car you once owned, or even a family heirloom? At the V8 Speed and Resto Shop, we restore classics cars, build high-end custom cars and hot rods, and restore muscle cars. We fully understand the importance of these cars and their significance.
Welcome to the V8 Speed and Resto Shop: A Complete Classic Car, Muscle Car Restoration, Custom Car and Hot Rod Shop.
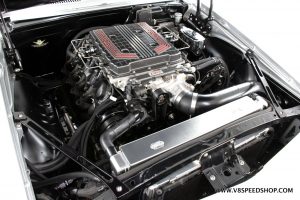
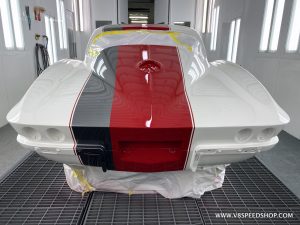
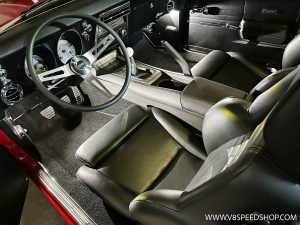
We have the expertise and equipment to handle nearly all restoration and custom modification tasks in-house, including cutting-edge mechanical upgrades, precision engine machining, custom metal fabrication, fine crafted upholstery, and show-winning bodywork and paint. Whether you’re looking for an over-the-top show car, a stock and original restoration, a powerful Muscle Car, a state-of-the-art Pro Touring machine, a crazy hot rod, a one-of-a-kind custom car, or just a cool and reliable classic car to drive, we can help.

Judge For Yourself
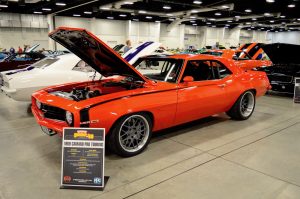
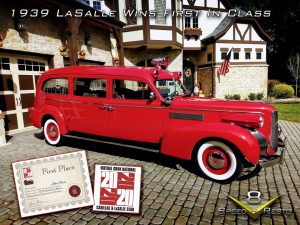
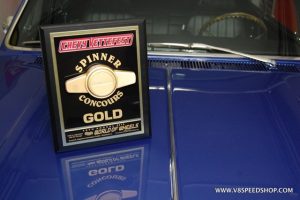
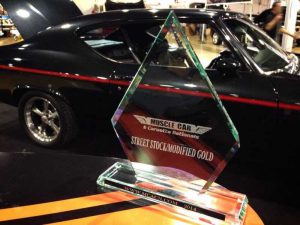
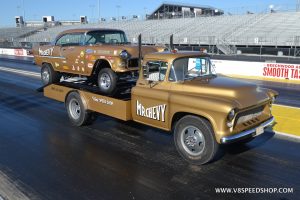
V8 Speed and Resto Shop customs and restorations have won awards at all kinds of top national events, and have been SEMA Show feature cars since the first car we built. Our team of experienced restoration and mechanical professionals has hundreds of years of combined experience in the automotive restoration industry, and 2004 marks our 20th year in business. We are passionate about customs, hot rods, and muscle cars, and we take pride in our work. Learn more about the V8 Speed and Resto Shop!
Immersed In The Culture
Leveraging their deep roots in car culture, Kelle and Kevin Oeste lead V8 Speed and Resto Shop. Kevin’s background producing car shows like Hot Rod Magazine TV fueled the creation of V8TV, which later spawned the shop. Kelle’s involvement with SEMA, a leading automotive specialty equipment association, further solidified their industry connections. Together, they’ve assembled a team of skilled craftspeople who transform classic cars at V8 Speed and Resto Shop.
Custom Crafted Just For You
We understand that every project is unique, and we work with our customers to create a design and build plan that meets their specific needs and budget. If you’re looking for a trusted partner to restore your classic car or muscle car or build your dream custom or hot rod, the V8 Speed and Resto Shop is the perfect choice.
What Can We Build For You?

817 S. MAIN STREET – RED BUD, IL 62278